
Solar
How to install solar panels, inverters, and batteries
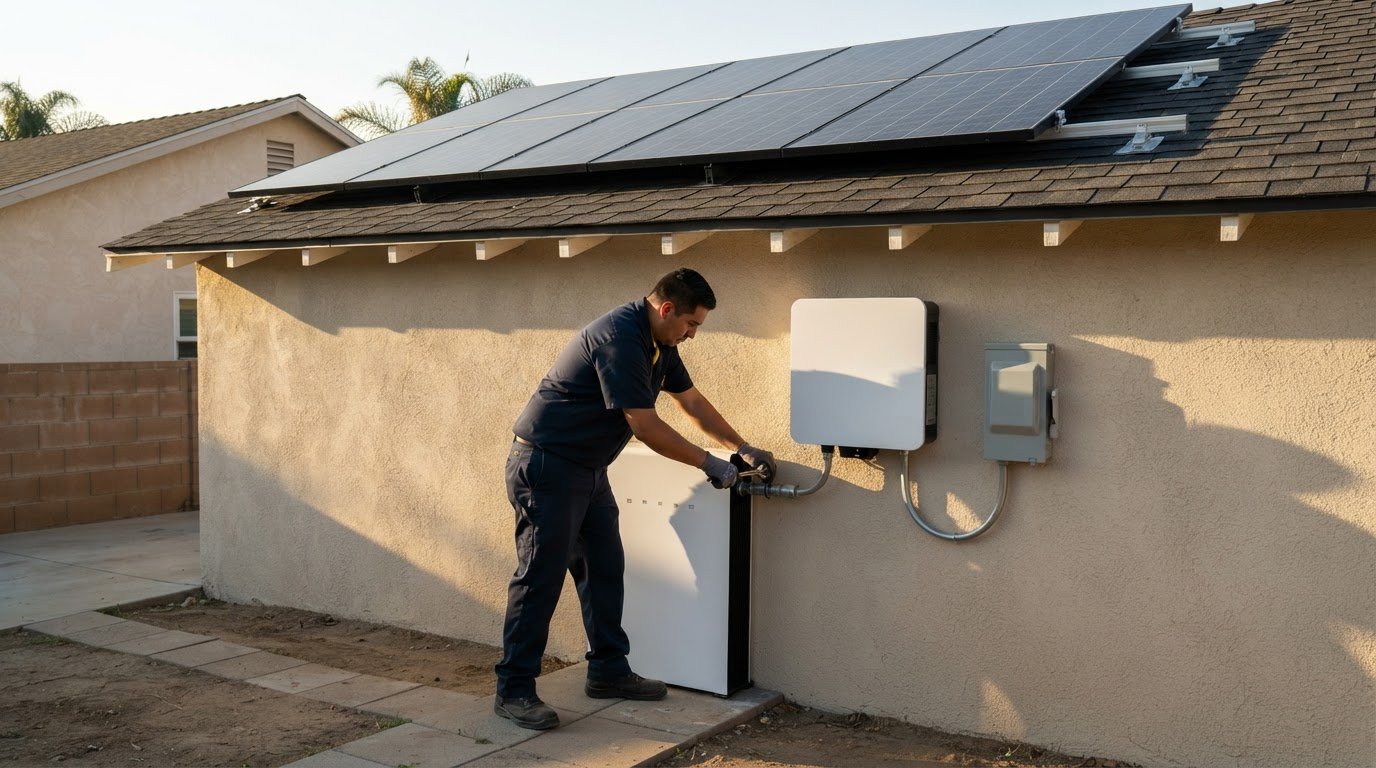
A DIY solar project can take 1-3 weekends with one other person, while a residential installation from planning through permission to operate can span between two and six months. The hands-on work is only one part of the solar panel installation process; site surveys, permits, inspections, and utility approval shape the full timeline.
It’s easy to focus on the panels going onto the roof, since that’s the visible change. But the inverter, battery, electrical connections, and approvals all play a part in getting a solar system ready to use.
This guide walks through each stage, from assessing the roof and electrical system to installing equipment and waiting for permission to operate. You’ll see what happens at each step, how long the work may take, and why a DIY timeline differs from the full project schedule.
Key Takeaways
- Use the site survey to spot roof or electrical work that could affect the system design and installation schedule.
- Roof-mounted racking attaches to the rafters, so the roof’s condition and expected lifespan matter before panels go up.
- The inverter changes the panels’ direct-current electricity into alternating current for household use; battery storage can keep extra solar power for later.
- Plan for local inspections and utility approval before switching on a grid-connected system.
- Keep installation day separate from the full project timeline: permits, equipment scheduling, and permission to operate also take time.
Table of Contents
Inspection, utility approval, and permission to operate
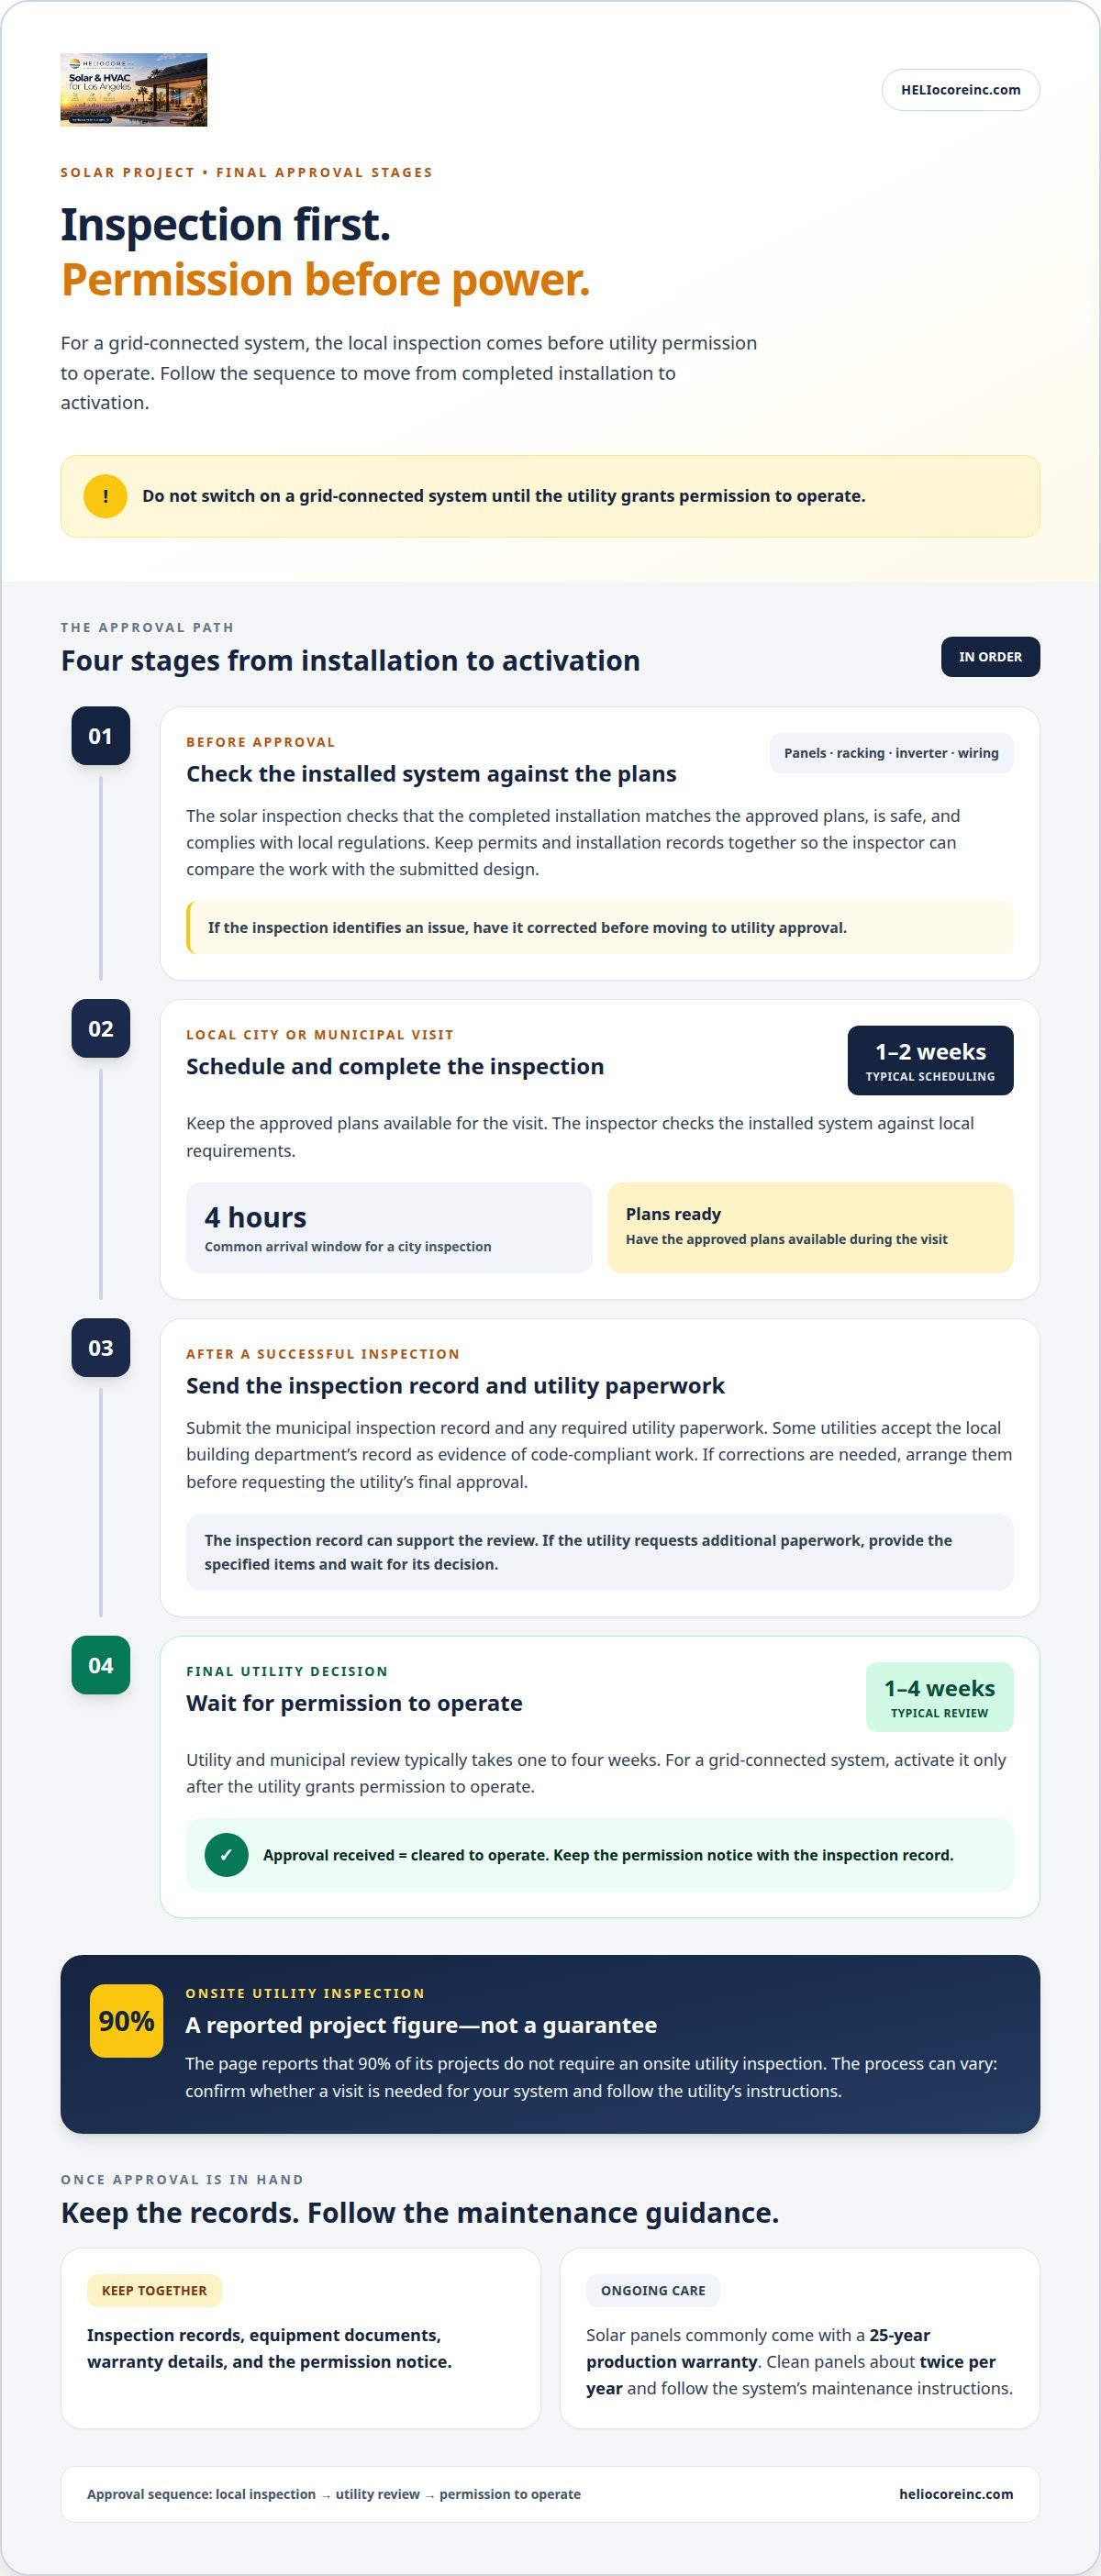
After the panels, inverter, and wiring are installed, inspections and utility approvals move the project toward activation. Follow the sequence: for a grid-connected system, the local inspection comes before utility permission to operate.
-
Check Solar Code Compliance
Compare the approved plans with the completed installation, including the panels, racking, inverter, and visible wiring. A solar inspection checks that the system is safe and complies with local regulations. Keep permits and installation records together so the inspector can compare the work with the submitted design. If the inspection identifies an issue, have it corrected before moving to utility approval.
- Compare installers before work begins. Request at least three quotes, then compare the proposed system design, equipment, installation scope, and handling of permits and approvals. Consider installers with at least five years in business, and check that the installer holds the license required for the work in your location. A clear written scope makes it easier to see what each quote includes.
For 2026, federal, state, and local solar incentives depend on the programs available for your location and project. Review eligibility, application timing, and required documents before relying on an incentive in your project plans.
-
Complete Municipal Inspections
Schedule the local city or municipal inspection after installation, and keep the approved plans available for the visit. A city inspection commonly uses a four-hour arrival window, while scheduling the inspection typically takes one to two weeks. The inspector checks the installed system against local requirements. If corrections are needed, arrange them before requesting the utility’s final approval.
-
Obtain Utility Approval and Permission to Operate
Submit the municipal inspection record and any required utility paperwork after the installation passes inspection. Some utilities accept the local building department’s record as evidence of code-compliant work, so that record can help complete the approval step. Utility and municipal review typically takes one to four weeks. For a grid-connected system, wait for the utility’s permission to operate before activating it.
- Keep inspection records, equipment documents, and warranty details in one place after approval. Solar panels commonly come with a 25-year production warranty. Clean the panels about twice per year to help them operate at their best, and follow the system’s maintenance instructions. These records also make it easier to track inspection results, warranty terms, and any maintenance performed.
A utility company grants permission to operate after the solar system passes inspection. Keep the inspection record with the utility paperwork, and do not activate the system until permission is granted. Some utility companies accept the local building department’s inspection record as evidence that a solar system was installed to code. If the utility accepts that record, it can support the approval review; if additional paperwork is requested, provide the items specified and wait for the utility’s decision.
The page reports that 90% of its projects do not require an onsite utility inspection. This figure describes those projects and does not guarantee the same process for every installation. Confirm whether an onsite visit is needed for your system, and follow the utility’s instructions to complete approval. Keep the inspection record and permission notice together for reference after the system is cleared to operate.
Site surveys and roof or electrical upgrades
Arrange a site assessment before finalizing panel placement or ordering equipment. A solar site assessment typically takes about 1 week to arrange and complete.
The number and size of panels depend on household electricity use, usable roof area, sunlight, and the system design. Consider these factors together: limited roof space or shade can affect panel placement and expected production.
-
Assess the Home and Roof Site
Walk through the site assessment with the roof, electrical setup, and proposed panel locations in view. Note roof shape, available surface, nearby obstructions, and where equipment could connect to the home’s electrical system. Share the household’s electricity use and planned changes, such as adding a major appliance. Those details help shape an application and a system design around the home, not just the roof.
-
Review Roof Condition and Sunlight
Ask the surveyor to assess roof condition and sunlight across the areas considered for panels. Shade from trees, chimneys, or nearby buildings can affect expected production, so compare locations rather than treating the whole roof as equally efficient. A clear, sunny section may be more useful than a larger shaded area. Include the results in the design discussion before settling panel placement.
-
Consider Roof Replacement Before Racking
Review the roof’s age and condition before installing roof-mounted racking. A homeowner may want to replace a roof that is more than 10-15 years old before adding panels. Solar panels last 25+ years, so the roof should last just as long. If replacement is needed, completing it first avoids planning around an existing array. Racking is anchored to roof rafters, which support the panels.
- Check whether the existing electrical setup can support the planned system. Compare the proposed equipment and connection points with the home’s current electrical layout. If the assessment identifies a needed upgrade, include it in the project plan before installation. For example, changing the equipment location may change the wiring route. Resolve design and upgrade questions together.
- Use the survey findings to confirm panel placement, racking locations, and weatherproofing details. Installers secure roof mounting systems and apply weatherproofing to help prevent leaks. Ask how the final layout accounts for rafters and roof condition, then review any changes against the original application. A complete plan connects the roof assessment with the electrical design and expected production.
- Keep the assessment notes with the system design so decisions stay aligned through installation. Compare the planned panel area with sunlight findings, household use, and desired savings. If a roof section has shade or limited space, adjust the layout before work starts. For a project-specific view of roof and electrical planning, explore residential solar planning.
Utility interconnection and permission to operate
Map permits, utility review, and activation in that order. For a grid-connected solar system, utility permission to operate comes before activation.
-
Secure Permits and Local Approvals
Start by identifying the permits required for the home’s location. Requirements vary by municipality, and system designs are submitted for local building and electrical permits before work begins. Residential projects also require utility interconnection approval. The municipality sets the local permit steps, while the utility reviews the grid connection.
- Allow time for local review before scheduling installation. Solar permitting in the United States takes 2-4 weeks on average, but can range from instantaneous to 6 or more weeks. The municipality, application completeness, and local review queue affect timing. Read the installation documents carefully before signing; reviewing and signing required documents can take about one hour.
-
Complete Utility Interconnection
Submit the interconnection application and system details to the utility through the project approval process. The utility reviews how the solar system will connect to its grid and issues permission to operate before activation. Keep utility requirements aligned with municipal permits and the approved design. Changes to system details may require updated documents before the review can be completed.
- Plan for safe work as well as paperwork. Common installation risks include falls, unsafe handling, incorrect wiring, and work that fails to meet code. Roof access and electrical connections require appropriate training, tools, and safety equipment. A DIY kit is not a shortcut: solar installation involves roof work and electrical wiring, and mistakes can affect safety, compliance, and equipment warranties. Keep the work aligned with the approved design.
-
Activate the System After Permission to Operate
Wait for the utility’s permission to operate before switching on a grid-tied system. Receiving permission to operate and activating the system typically takes 1-4 weeks. Once approval arrives, follow the installation instructions for activation; switching on the system itself takes only a few minutes. Keep the approval notice with the permits and system records, so the activation date and authorization stay together.
- Track each approval as a separate project step: municipal permits, inspection records, utility interconnection, and permission to operate. Use review periods to organize paperwork and coordinate the next scheduled step. Don’t activate the system to test the panels; wait until the utility has granted permission to operate.
Solar installation project timelines
A residential solar project in the United States can take between two and six months, from planning through permission to operate. The solar panel installation process includes several stages beyond the crew’s onsite work.
-
Map the Overall Installation Timeline
Build a calendar with separate milestones for consultation, design, permits, equipment delivery, installation, inspection, and utility approval. Consultation and system design typically take 1-2 weeks. Designing a residential system typically takes 2 to 3 weeks, while a complicated design should generally take no more than four weeks. Track paperwork against each milestone to see where time is being spent.
- Allow time for equipment ordering and crew scheduling after the design is ready. Ordering solar equipment and scheduling installation typically takes 1 - 4 weeks. The solar panel installation process can pause between these stages if equipment delivery or site readiness shifts. Record order status and scheduled dates, so you can distinguish a delivery delay from a change in the work schedule.
- Include local review in your calendar instead of treating permits as a same-day step. Solar permitting in the United States takes 2-4 weeks on average, but may range from instantaneous to 6 or more weeks. Municipality review and application completeness affect the timing. Keep documents organized, and note when the local authority receives the design.
-
Estimate Installation Duration
Separate days of physical work from the complete project schedule. Installing racking, panels, wiring, an inverter, and energy storage typically takes 1-3 days. The equipment included and the home’s layout shape the work involved. Confirm that the planned installation covers each component, rather than assuming the onsite work marks final activation.
- Keep inspection and utility approval as distinct milestones. Municipal and utility inspection typically takes 1-4 weeks, and a local city inspection typically takes 1 to 2 weeks to schedule. Receiving permission to operate and activating the system typically takes 1-4 weeks. Record the status of each approval separately, since installation completion does not itself authorize activation.
- Plan budget and timing around the same project details. Price depends on the project and is given after a quote request; factors include equipment, roof work, electrical upgrades, and battery storage. Those same needs can affect the schedule. If roof or electrical work is part of the plan, place it before installation and coordinate its completion with the equipment schedule.
Panel, inverter, and battery installation
Plan the equipment as one connected system, not as separate purchases. Panel placement, inverter location, wiring, and battery storage each affect how the home uses solar power.
- Use the approved design to guide panel placement. The roof layout determines where the panels sit and how the components connect. Keep the installed arrangement aligned with the plan, including racking and wiring routes. If a roof feature affects the planned position, resolve the layout before proceeding. A coordinated arrangement helps the panels, inverter, and any battery work together as designed.
- Install the panels on the prepared racking, following the planned layout across the usable roof area. Keep the arrangement consistent with the design, and don’t shift panels without considering the wiring path. Changes can affect where the system’s electrical connections run. Treat the panel layout and connection plan as one installation task.
- Connect the panel wiring to the inverter according to the design. Solar panels produce direct-current electricity, while household appliances use alternating current. Route and organize the wiring as part of the planned equipment setup, rather than improvising connections at the end. A changed panel position, for example, may affect the route from the array to the inverter.
- The inverter is often placed near the main electrical panel or outside the house. It converts direct-current electricity from the panels into alternating current for home use. Choose its position in line with the planned wiring route and electrical connection, keeping the equipment layout consistent with the approved design.
- Consider whether the system should include battery storage. A battery stores extra solar electricity for later use. Backup power during a grid outage requires a compatible battery and system. Standard solar systems shut down during outages for safety, so solar panels alone will not keep the home powered.
- Review the complete equipment arrangement before treating installation as finished. Check that panels, inverter, wiring, and battery storage match the planned system, if storage is included. The physical installation typically takes 1-3 days, but equipment setup is only one part of getting a system ready. Keep the component layout and connection details together for the later inspection and approval stages.
For help planning the panels, inverter, and storage as one home system, schedule solar panel installation.
HelioCore: High-Efficiency Solar Panels
HelioCore Inc designs and installs high-efficiency solar panels for homeowners planning a connected home energy system in Los Angeles. Its team manages the solar panel installation process from design and permits through installation, inspection, and activation. Consider battery storage as part of the plan if you want backup power during outages.
A clear project starts with the details covered in this guide: roof condition, panel placement, electrical setup, and utility approval. HelioCore Inc also offers battery storage, so you can discuss panels and storage as parts of one home energy plan. If you’re still weighing the options, bring your questions about your roof, solar power use, and project priorities into the conversation.
Contact HelioCore Inc to discuss solar panel installation for your home in Los Angeles.
Make your next energy decision with confidence
The next step is to turn the information you’ve gathered into a plan that fits your home. Consider how you use electricity today, what you may add later, and whether a compatible battery belongs in the design. A well-planned solar panel installation process starts with household needs, not just equipment placement.
HelioCore offers high-efficiency solar panels, battery storage, and HVAC services for Los Angeles homeowners planning home energy improvements. Start with a conversation about your priorities, roof, and system goals, and keep the plan connected to how you use your home.
Contact HelioCore about solar installation and take the next step toward a plan for your home.
Frequently Asked Questions
How Long Does It Take to Install Solar by Yourself?
A DIY installation typically takes 1-3 weekends with help from one other person. That estimate covers hands-on project work, not the full path through design, permits, inspections, and utility approval. For example, a weekend spent mounting panels doesn’t mean a grid-connected system is ready to switch on. Plan time for safe roof and electrical work, plus the administrative steps that happen around installation.
What are the steps to install solar panels on a home?
Start with a home assessment, then finalize the design and required permits before installation. Next, install the mounting system and panels, connect the inverter and any compatible battery, and complete the required inspections. Keep the approved design and equipment details together so changes to panel placement or wiring can be tracked. For a grid-connected system, wait for utility permission before activation.
How much does home solar panel installation cost in the United States?
The price depends on the project and is given after a quote request. Key cost factors include system design, equipment, usable roof area, electrical upgrades, and whether battery storage is included. A home needing roof work has different project requirements from one with a ready roof and electrical setup. Compare quotes by reviewing the equipment and work included, not just the total figure.
How do installers assess roof condition, orientation, and shading?
Installers review the roof’s condition, direction, usable space, and areas affected by shade. They consider obstructions such as chimneys, trees, and nearby buildings, then use those observations to shape panel placement and expected production. A smaller unshaded area may be more suitable than a larger section shaded by a tree. The electrical layout and household energy use also inform system design.
How does grid-tied solar installation and net metering work?
A grid-tied system connects the home’s solar equipment to the utility network. The home can use solar power as it is produced, while utility billing arrangements determine how exported electricity is credited. Terms vary by utility and location, so the effect on a bill depends on the applicable policy and household usage. In Los Angeles, homeowners served by LADWP should expect to continue receiving a utility bill; solar may reduce it but does not eliminate it.